设置
此示例应用仅侧重于将 WebDriver 测试添加到现有项目。为了在以下两个部分中测试一个项目,我们将设置一个极小的 Tauri 应用用于我们的测试。我们不会使用 Tauri CLI、任何前端依赖或构建步骤,也不会在之后打包应用。这是为了展示一个最小套件,以展示将 WebDriver 测试添加到现有应用。
¥This example application solely focuses on adding WebDriver testing to an already existing project. To have a project to test in the following two sections, we will set up an extremely minimal Tauri application for use in our testing. We will not use the Tauri CLI, any frontend dependencies or build steps, and not be bundling the application afterward. This is to showcase exactly a minimal suite to show off adding WebDriver testing to an existing application.
如果你只是想查看利用本示例指南中显示内容的完成的示例项目,那么你可以查看 https://github.com/chippers/hello_tauri。
¥If you just want to see the finished example project that utilizes what will be shown in this example guide, then you can see https://github.com/chippers/hello_tauri.
初始化 Cargo 项目
¥Initializing a Cargo Project
我们想要创建一个新的二进制 Cargo 项目来容纳这个示例应用。我们可以轻松地从命令行使用 cargo new hello-tauri-webdriver --bin 执行此操作,这将为我们搭建一个最小的二进制 Cargo 项目。此目录将作为本指南其余部分的工作目录,因此请确保你运行的命令位于这个新的 hello-tauri-webdriver/ 目录中。
¥We want to create a new binary Cargo project to house this example application. We can easily do this from the command
line with cargo new hello-tauri-webdriver --bin, which will scaffold a minimal binary Cargo project for us. This
directory will serve as the working directory for the rest of this guide, so make sure the commands you run are inside
this new hello-tauri-webdriver/ directory.
创建最小前端
¥Creating a Minimal Frontend
我们将创建一个最小 HTML 文件作为示例应用的前端。我们稍后还将在 WebDriver 测试中使用这个前端的一些内容。
¥We will create a minimal HTML file to act as our example application’s front end. We will also be using a few things from this frontend later during our WebDriver tests.
首先,让我们创建 Tauri distDir,我们知道在构建应用的 Tauri 部分时我们将需要它。mkdir dist 应创建一个名为 dist/ 的新目录,我们将在其中放置以下 index.html 文件。
¥First, let’s create our Tauri distDir that we know we will need once building the Tauri portion of the application.
mkdir dist should create a new directory called dist/ in which we will be placing the following index.html file.
dist/index.html:
<!doctype html><html lang="en">  <head>    <meta charset="UTF-8" />    <title>Hello Tauri!</title>    <style>      body {        /* Add a nice colorscheme */        background-color: #222831;        color: #ececec;
        /* Make the body the exact size of the window */        margin: 0;        height: 100vh;        width: 100vw;
        /* Vertically and horizontally center children of the body tag */        display: flex;        justify-content: center;        align-items: center;      }    </style>  </head>  <body>    <h1>Hello, Tauri!</h1>  </body></html>
将 Tauri 添加到 Cargo 项目
¥Adding Tauri to the Cargo Project
接下来,我们将添加必要的项目,将我们的 Cargo 项目转变为 Tauri 项目。首先,将依赖添加到 Cargo Manifest (Cargo.toml),以便 Cargo 知道在构建时引入我们的依赖。
¥Next, we will add the necessary items to turn our Cargo project into a Tauri project. First, is adding the dependencies
to the Cargo Manifest (Cargo.toml) so that Cargo knows to pull in our dependencies while building.
Cargo.toml:
[package]name = "hello-tauri-webdriver"version = "0.1.0"edition = "2021"rust-version = "1.56"
# Needed to set up some things for Tauri at build time[build-dependencies]tauri-build = "1"
# The actual Tauri dependency, along with `custom-protocol` to serve the pages.[dependencies]tauri = { version = "1", features = ["custom-protocol"] }
# Make --release build a binary that is small (opt-level = "s") and fast (lto = true).# This is completely optional, but shows that testing the application as close to the# typical release settings is possible. Note: this will slow down compilation.[profile.release]incremental = falsecodegen-units = 1panic = "abort"opt-level = "s"lto = true
你可能已经注意到,我们添加了 [build-dependency]。要使用构建依赖,我们必须从构建脚本中使用它。我们现在将在 build.rs 创建一个。
¥We added a [build-dependency] as you may have noticed. To use the build dependency, we must use it from a build
script. We will create one now at build.rs.
build.rs:
fn main() {    // Only watch the `dist/` directory for recompiling, preventing unnecessary    // changes when we change files in other project subdirectories.    println!("cargo:rerun-if-changed=dist");
    // Run the Tauri build-time helpers    tauri_build::build()}
我们的 Cargo 项目现在知道如何使用所有这些设置来引入和构建我们的 Tauri 依赖。让我们通过在实际项目代码中设置 Tauri,将这个最小示例变成 Tauri 应用。我们将编辑 src/main.rs 文件以添加此 Tauri 功能。
¥Our Cargo Project now knows how to pull in and build our Tauri dependencies with all that setup. Let’s finish making
this minimal example a Tauri application by setting up Tauri in the actual project code. We will be editing
the src/main.rs
file to add this Tauri functionality.
src/main.rs:
fn main() { tauri::Builder::default() .run(tauri::generate_context!()) .expect("unable to run Tauri application");}很简单,对吧?
¥Pretty simple, right?
Tauri 配置
¥Tauri Configuration
我们需要 2 件事才能成功构建应用。首先,我们需要一个图标文件。你可以将任何 PNG 用于下一部分并将其复制到 icon.png 中。通常,当你使用 Tauri CLI 创建项目时,这将作为脚手架的一部分提供。要获取默认的 Tauri 图标,我们可以使用命令 curl -L "https://github.com/chippers/hello_tauri/raw/main/icon.png" --output icon.png 下载 Hello Tauri 示例存储库使用的图标。
¥We are going to need 2 things to successfully build the application. First, we need an icon file. You can use any PNG
for this next part and copy it into icon.png. Typically, this will be provided as part of the scaffolding when you use
the Tauri CLI to create a project. To get the default Tauri icon, we can download the icon used by the Hello Tauri
example repository with the
command curl -L "https://github.com/chippers/hello_tauri/raw/main/icon.png" --output icon.png.
我们需要一个 tauri.conf.json 来为 Tauri 设置一些重要的配置值。同样,这通常来自 tauri init 脚手架命令,但我们将在此处创建自己的最小配置。
¥We will need a tauri.conf.json to set some important configuration values for Tauri. Again,
this would typically come from the tauri init scaffolding command, but we will be creating our own minimal config
here.
tauri.conf.json:
{ "build": { "distDir": "dist" }, "tauri": { "bundle": { "identifier": "studio.tauri.hello_tauri_webdriver", "icon": ["icon.png"] }, "allowlist": { "all": false }, "windows": [ { "width": 800, "height": 600, "resizable": true, "fullscreen": false } ] }}我将介绍其中的一些。你可以看到我们之前创建的 dist/ 目录被指定为 distDir 属性。我们设置了一个包标识符,以便构建的应用具有唯一的 id,并将 icon.png 设置为唯一图标。我们没有使用任何 Tauri API 或功能,因此我们通过设置 "all": false 在 allowlist 中禁用它们。窗口值仅设置要创建的单个窗口,并使用一些合理的默认值。
¥I’ll go over some of these. You can see the dist/ directory we created earlier specified as the distDir property. We
set a bundle identifier so that the built application has a unique id and set the icon.png as the only
icon. We aren’t using any Tauri APIs or features, so we disable them in allowlist by setting "all": false.
The window values just set a single window to be created with some reasonable default values.
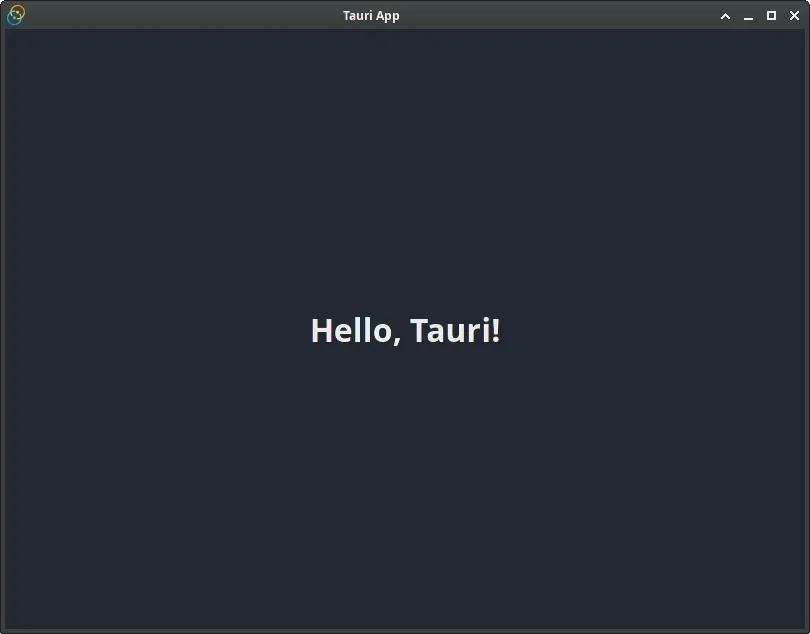
此时,我们有一个基本的 Hello World 应用,运行时应该会显示一个简单的问候语。
¥At this point, we have a basic Hello World application that should display a simple greeting when run.
运行示例应用
¥Running the Example Application
为了确保我们做对了,让我们构建这个应用!我们将把它作为 --release 应用运行,因为我们还将使用发布配置文件运行我们的 WebDriver 测试。运行 cargo run --release,经过一些编译后,我们应该会看到以下应用弹出。
¥To make sure we did it right, let’s build this application! We will run this as a --release application because we
will also run our WebDriver tests with a release profile. Run cargo run --release, and after some compiling, we should
see the following application pop up.
注意:如果你正在修改应用并想要使用 Devtools,请在没有 --release 的情况下运行它,并且 “检查元素” 应该在右键单击菜单中可用。
¥Note: If you are modifying the application and want to use the Devtools, then run it without --release and “Inspect
Element” should be available in the right-click menu.
我们现在应该准备好开始使用一些 WebDriver 框架测试此应用。本指南将按顺序介绍 WebdriverIO 和 Selenium。
¥We should now be ready to start testing this application with some WebDriver frameworks. This guide will go over both WebdriverIO and Selenium in that order.
Tauri v2.6 中文网 - 粤ICP备13048890号
Nodejs.cn 旗下网站